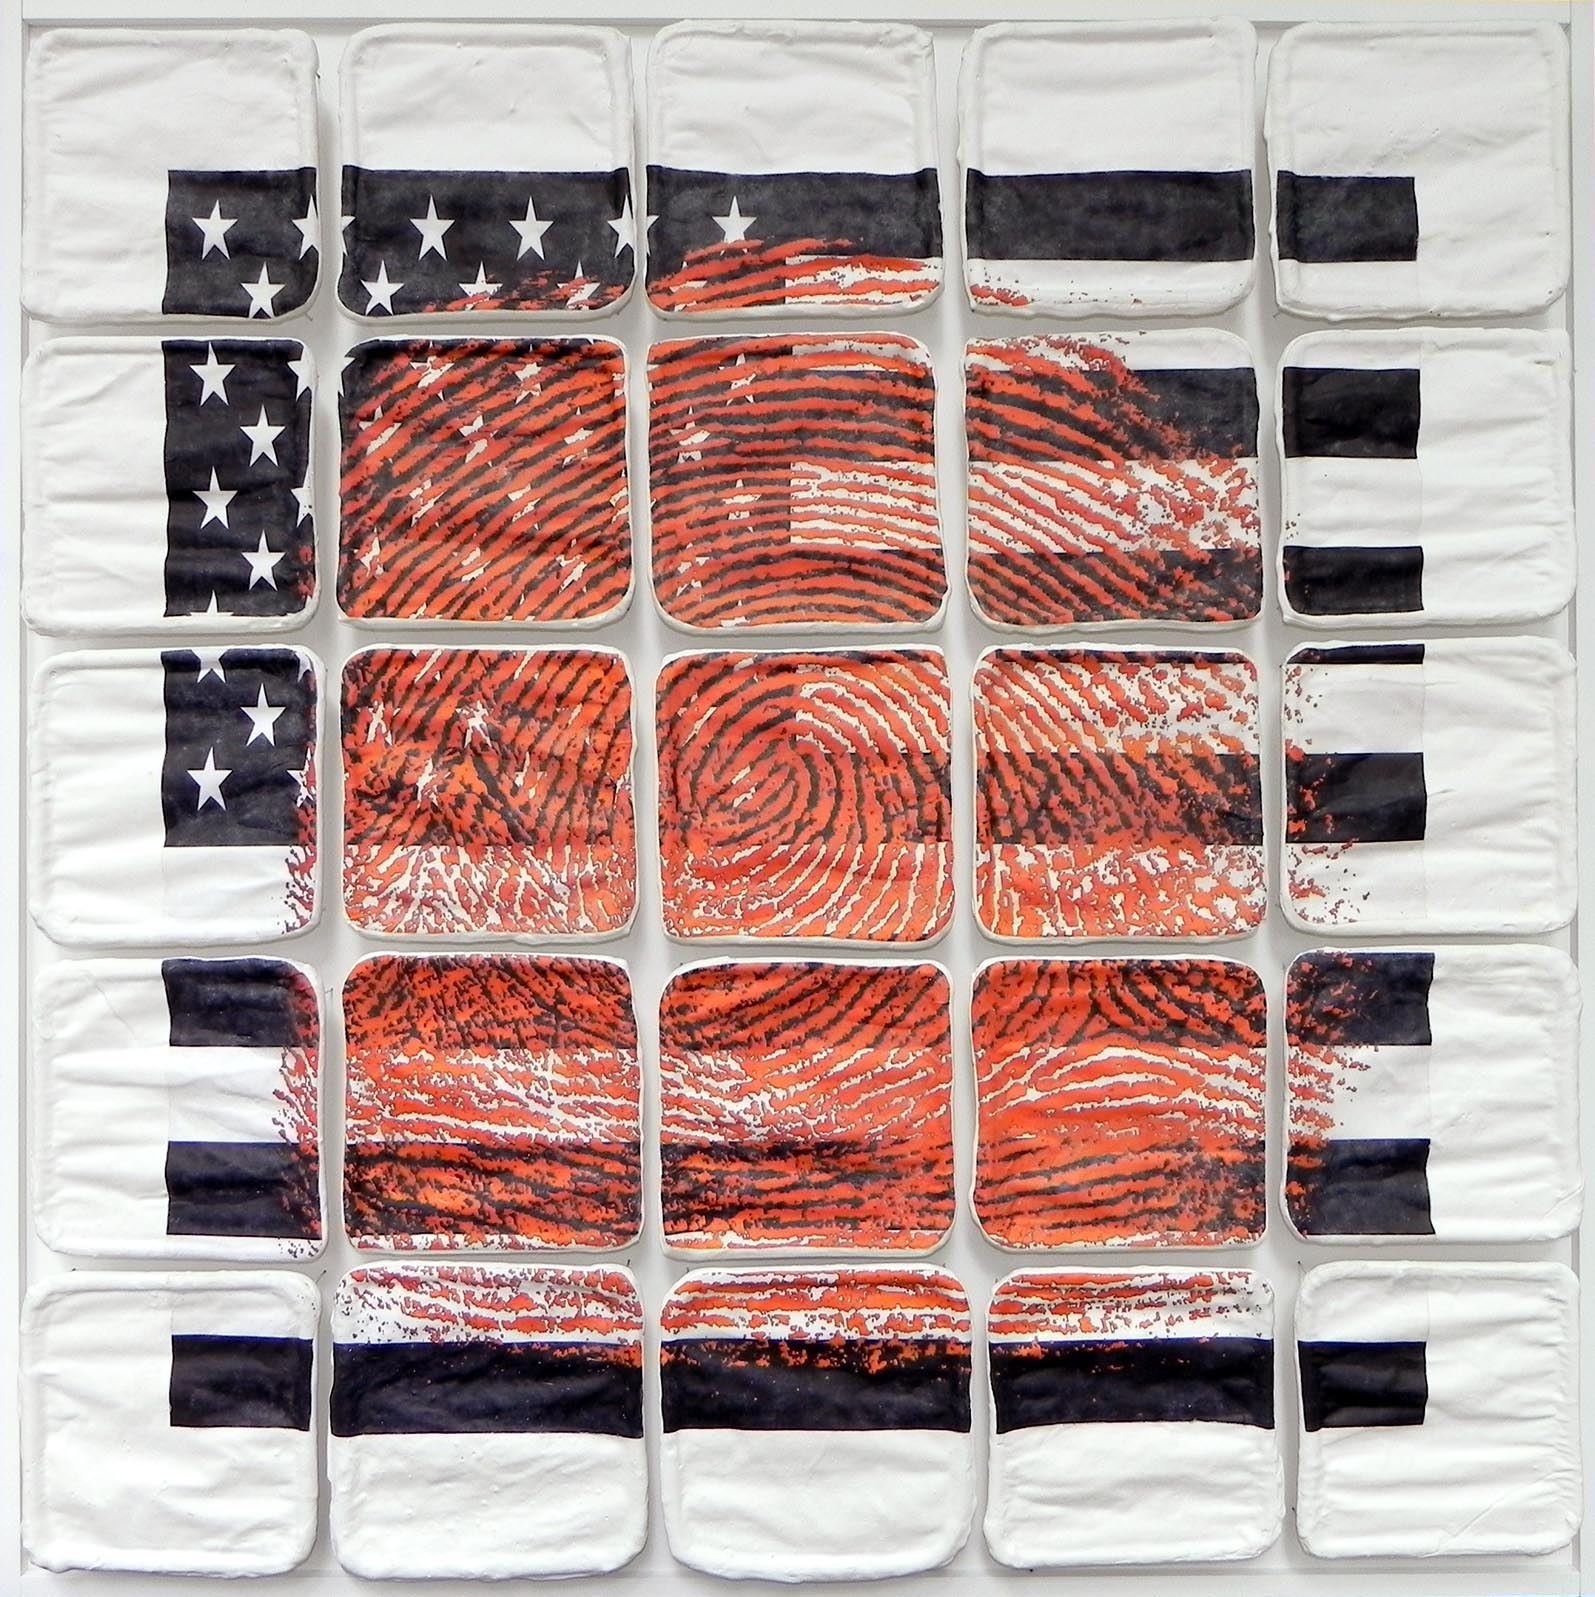
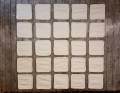
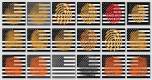
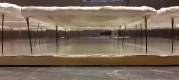
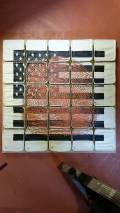
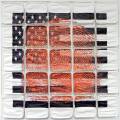
Dimensions : 48 x 48 x 2 inches (individual panels: 9 x 9 inches) Medium : plaster, paper, wire, acrylic, wood, the artist’s fingerprint Made : Feb 2016 – May 2018
About
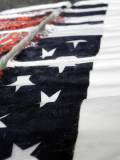
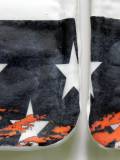
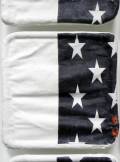
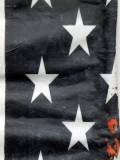
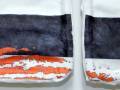
Anti-immigration rhetoric in American politics grew in 2017-2021, and exploded in 2025 . I use my own personal immigrant identity against as a backdrop to a society fractured in its views towards immigrants. The individual panels are plaster casts representing damage but latent with the hope and expectation of repair. The colorless flag represents faded values, while in the forefront a fingerprint of an immigrant (the artist’s) spans and the fractured components. We are all immigrants from somewhere.
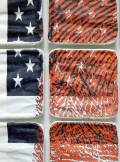
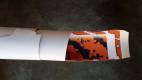
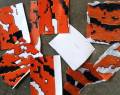
Detail
Thumbnail 1
Thumbnail 1
Thumbnail 1
Thumbnail 1
Thumbnail 1
Thumbnail 1
Thumbnail 1
Thumbnail 1
Thumbnail 1
Thumbnail 1
Thumbnail 1
Making
Thumbnail 1
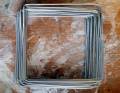
The panel armatures were constructed.
Thumbnail 1
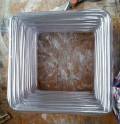
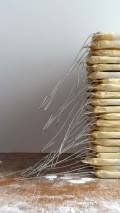
The armatures were sleeved with tubing to give the desired panel shapes later.
Thumbnail 1
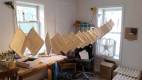
The panels skins were attached. Different materials and application methods were experimented with, including plaster application, to achieve the wavy appearance.
Thumbnail 1
Hooks were attached to the tabs.
Thumbnail 1
The panels were coated in plaster and hung to dry. Experimentation was done with getting the consistency right.
Thumbnail 1
The intentionally different panels were arranged into a final configuration.
Thumbnail 1
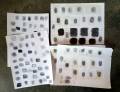
Different ways of taking the artist's fingerprints was experimented with to get the cleanest prints.
Thumbnail 1
Image prototyping was done and a final image selected.
Thumbnail 1
Test prints were made for color and image transfer process testing.
Thumbnail 1
Image transfer testing was done, including experimenting with coatings.
Thumbnail 1
Image transfer applications and coatings were testing on a plaster panel.
Thumbnail 1
Image transfer templates were created for each panel.
Thumbnail 1
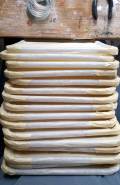
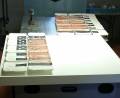
Panel templates were then used for cutting the master print. The master print is printed in reverse, as the transfers will be flipped when attached.
Thumbnail 1
A pile of used panel templates.
Thumbnail 1
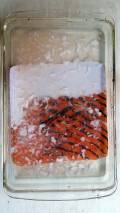
The panel prints were coated on the print side with acrylic medium and left to cure. Then they were soaked and the paper backing carefully removed, revealing the image that will be finally visible. The shiny acrylic sides were attached to the panels.
Thumbnail 1
The panel legs were attached and adjusted carefully into their final positions.
Thumbnail 1
The panels were arranged into the final layout on foam board and panel pin locations marked. The foam board was then used as a position template for transferring the locations onto the final mounting board.
Thumbnail 1
The locations of the panels was marked on the final wood board using the foam board template, and mounting holes drilled, and the panels mounted and glued from behind to secure them.