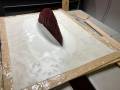
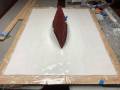
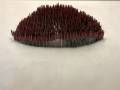
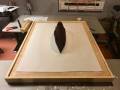
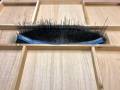
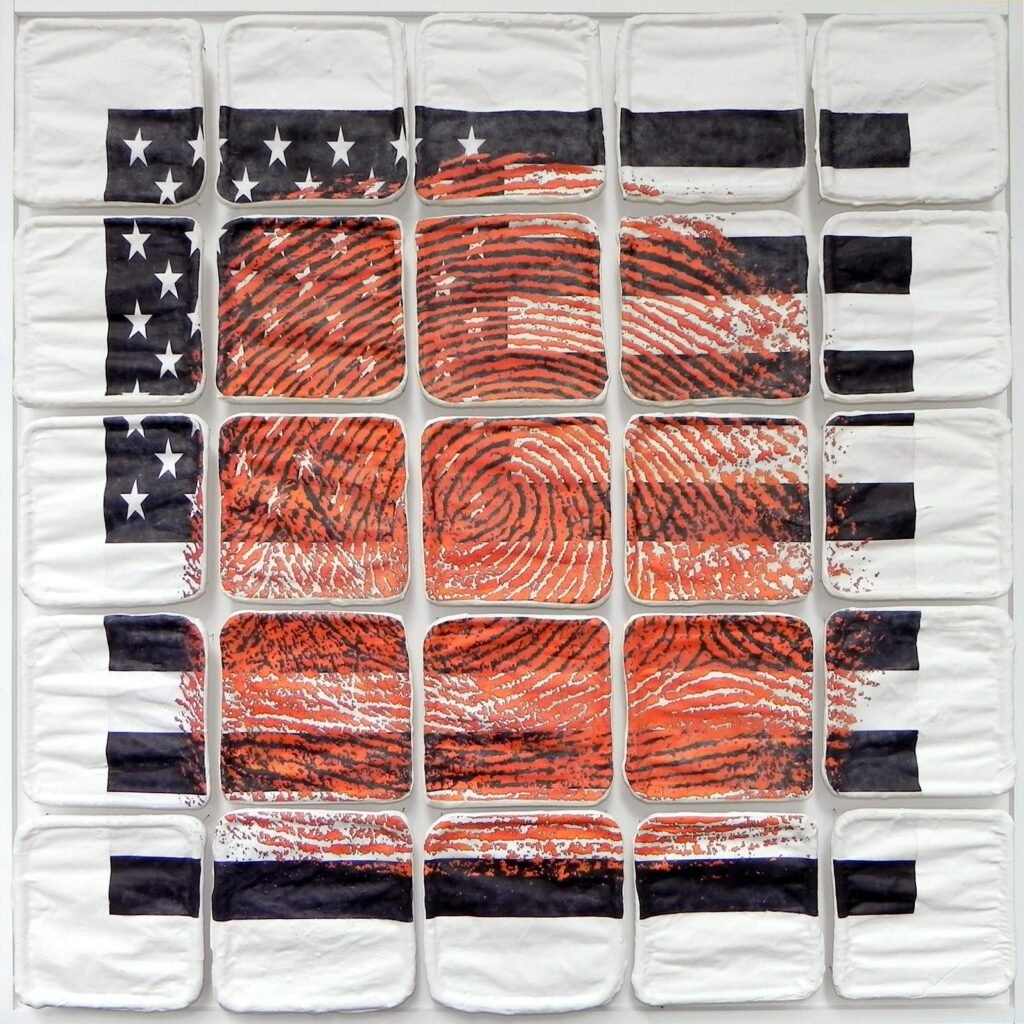
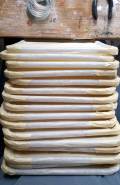
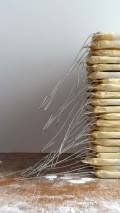
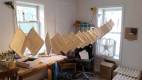
Blood Bullets was made between November 2018 and March 2021 and was probably one of the most complex and satisfying pieces I’ve made yet. Each stage of construction required careful thought and experimentation. Some of the failed experiments, such as various types of AR-15 bullet models and making their molds are not included. Things were designed to make the viewer engaging with the piece feel uncomfortable, including the placement of the center-line of the bullets erupting from the fabric being placed centrally, rather than slightly above center.
Making
Thumbnail 1
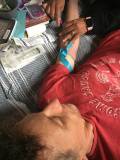
Blood is drawn.
Thumbnail 1
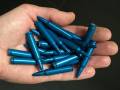
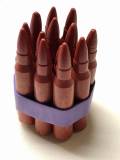
AR-15 rifle 'snap caps' will be used for making the bullets casting mold.
Thumbnail 1
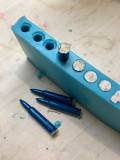
Making the bullet casting mold with the snap caps.
Thumbnail 1
A third silicon bullet casting mold is made (supported between two previously made molds)
Thumbnail 1
The snap caps are removed from the silicon mold.
Thumbnail 1
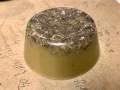
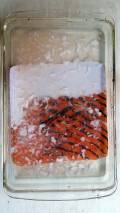
Blocks of encaustic wax with the drawn blood are made.
Thumbnail 1
An estimate of the number of bullets (and wax) needed is made.
Thumbnail 1
Different blood-based encaustic wax and oil paint pigment recipes are tested.
Thumbnail 1
The encaustic blood wax is melted down.
Thumbnail 1
The blood and paint encaustic wax is made using the earlier recipe proportions.
Thumbnail 1
The blood and paint encaustic wax cooking.
Thumbnail 1
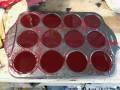
The blood and paint encaustic wax is poured into block molds.
Thumbnail 1
The encaustic blood / paint wax is left to cool.
Thumbnail 1
Test casting is done using the new wax and molds.
Thumbnail 1
The cast test bullets are de-molded.
Thumbnail 1
Tests of wax recipes and bullet castings.
Thumbnail 1
Casting blood bullets (done under extractor fan to avoid breathing in encaustic wax fumes).
Thumbnail 1
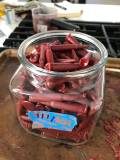
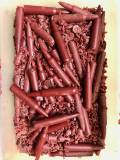
Some cast blood bullets.
Thumbnail 1
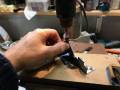
A hole is drilled into the center of each bullet to receive a mounting rod.
Thumbnail 1
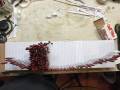
Bullets with mounting rods start to take over the studio.
Thumbnail 1
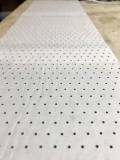
An isometric dot grid is created and attached to the mounting plate. This grid allows for ideal packing of the cylindrical mounted bullets. Holes are then drilled, using the grid template, into which the rods will snugly fit.
Thumbnail 1
The rods are inserted into the tight fitting holes. The hole size is carefully chosen to allow the rods to fit tightly but allow some movement.
Thumbnail 1
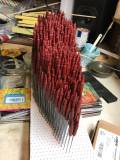
The mounting continues and starts to fill out the final shape.
Thumbnail 1
All trimmings or broken bullets are recycled back into usable wax for casting.
Thumbnail 1
The mounting continues. The mounting holes are just tight enough to allow the rods to be snugly moved up and down to set each bullet's height, like a stiff pin impression toy.
Thumbnail 1
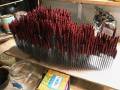
The bullets are mostly installed, ready for final height adjustments.
Thumbnail 1
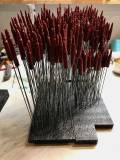
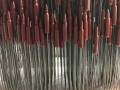
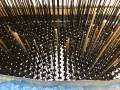
A close-up of the rod forest.
Thumbnail 1
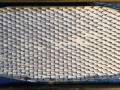
Lycra (elastane) is tested with different slit patterns.
Thumbnail 1
The chosen slit shape is cut into Lycra which is then laid over the bullets for their adjustment into position.
Thumbnail 1
The bullets' positions are adjusted.
Thumbnail 1
The bullets' positions are fine tuned. The tight fitting rods keep them in place.
Thumbnail 1
The Lycra mounting wood is prepared. The underlying bullet mount will be bolted to this and the Lycra will be overlaid.
Thumbnail 1
The Lycra is plasticized around the bullets to set it into an initial form.
Thumbnail 1
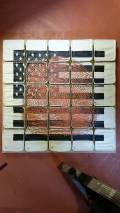
The entire Lycra panel gets plasticized, with the background board underneath.
Thumbnail 1
The bullets mount is bolted to the background board, which is then painted.
Thumbnail 1
The frame is built and installed.
Thumbnail 1
The frame is mounted into a custom jig which will allow the piece to be rotated face down.
Thumbnail 1
With the piece face down, a dam is created around the mounting rods. The rod holes are then sprayed with a rubber sealant to prevent leakage in the next step.
Thumbnail 1
Liquid plastic is poured into the dam which will secure the rods in place.
Thumbnail 1
After the plastic is set, the rods are trimmed.
Thumbnail 1
Close-up of the trimmed rods.
Thumbnail 1
The jig is used to safely rotate the piece back upright.
Thumbnail 1
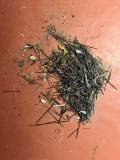
The very sharp rod trimmings that were flying around during the trimming are cleaned up.
The armatures were sleeved with tubing to give the desired panel shapes later.
Thumbnail 1
The panels skins were attached. Different materials and application methods were experimented with, including plaster application, to achieve the wavy appearance.
Thumbnail 1
Hooks were attached to the tabs.
Thumbnail 1
The panels were coated in plaster and hung to dry. Experimentation was done with getting the consistency right.
Thumbnail 1
The intentionally different panels were arranged into a final configuration.
Thumbnail 1
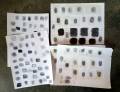
Different ways of taking the artist's fingerprints was experimented with to get the cleanest prints.
Thumbnail 1
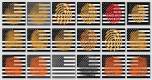
Image prototyping was done and a final image selected.
Thumbnail 1
Test prints were made for color and image transfer process testing.
Thumbnail 1
Image transfer testing was done, including experimenting with coatings.
Thumbnail 1
Image transfer applications and coatings were testing on a plaster panel.
Thumbnail 1
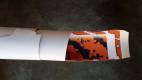
Image transfer templates were created for each panel.
Thumbnail 1
Panel templates were then used for cutting the master print. The master print is printed in reverse, as the transfers will be flipped when attached.
Thumbnail 1
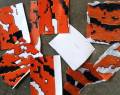
A pile of used panel templates.
Thumbnail 1
The panel prints were coated on the print side with acrylic medium and left to cure. Then they were soaked and the paper backing carefully removed, revealing the image that will be finally visible. The shiny acrylic sides were attached to the panels.
Thumbnail 1
The panel legs were attached and adjusted carefully into their final positions.
Thumbnail 1
The panels were arranged into the final layout on foam board and panel pin locations marked. The foam board was then used as a position template for transferring the locations onto the final mounting board.
Thumbnail 1
The locations of the panels was marked on the final wood board using the foam board template, and mounting holes drilled, and the panels mounted and glued from behind to secure them.
A base encaustic wax is made with beeswax and dammar resin.
Thumbnail 1
The ashes pigment is mixed with the base encaustic wax to make the final pigmented encaustic wax.
Thumbnail 1
A red encaustic wax is also made.
Thumbnail 1
Burlap (sackcloth) is prepared and painted with the encaustic wax paints.
Thumbnail 1
Cords of different sizes and materials are tested with the wax paints.
Thumbnail 1
The two halves of the cloth are connected with two selected cords painted with encaustic wax paint.
Thumbnail 1
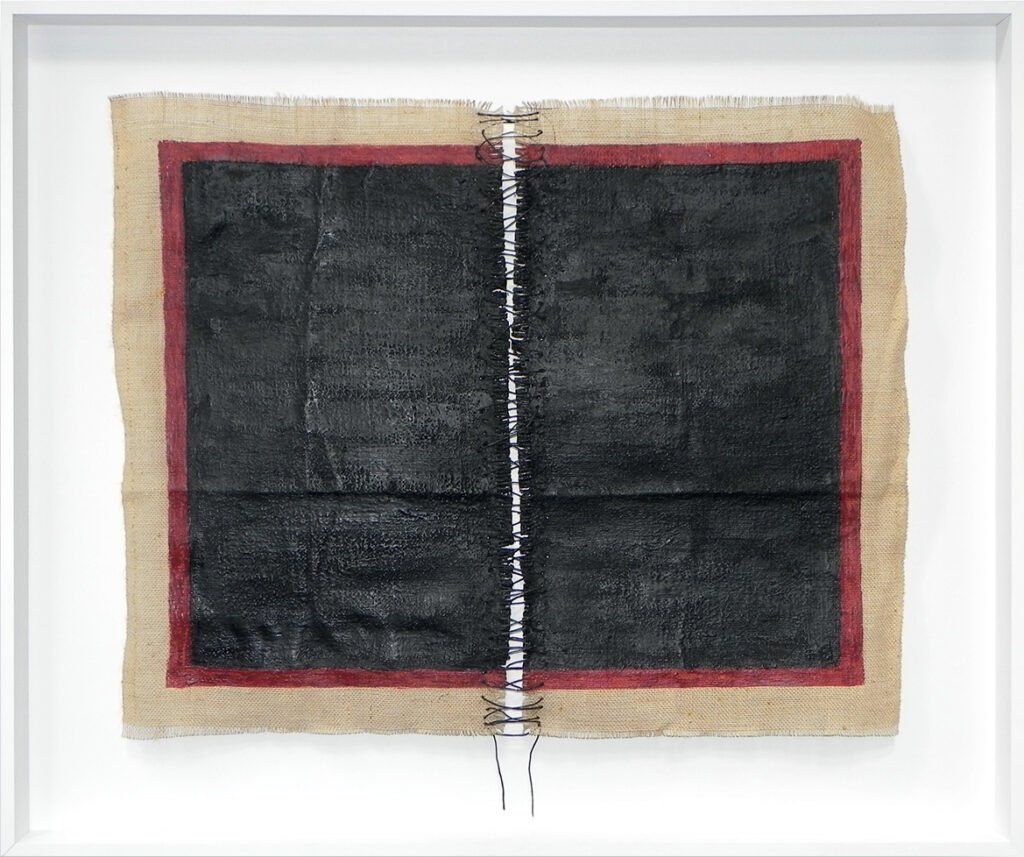
The final piece.
COVID Ashes
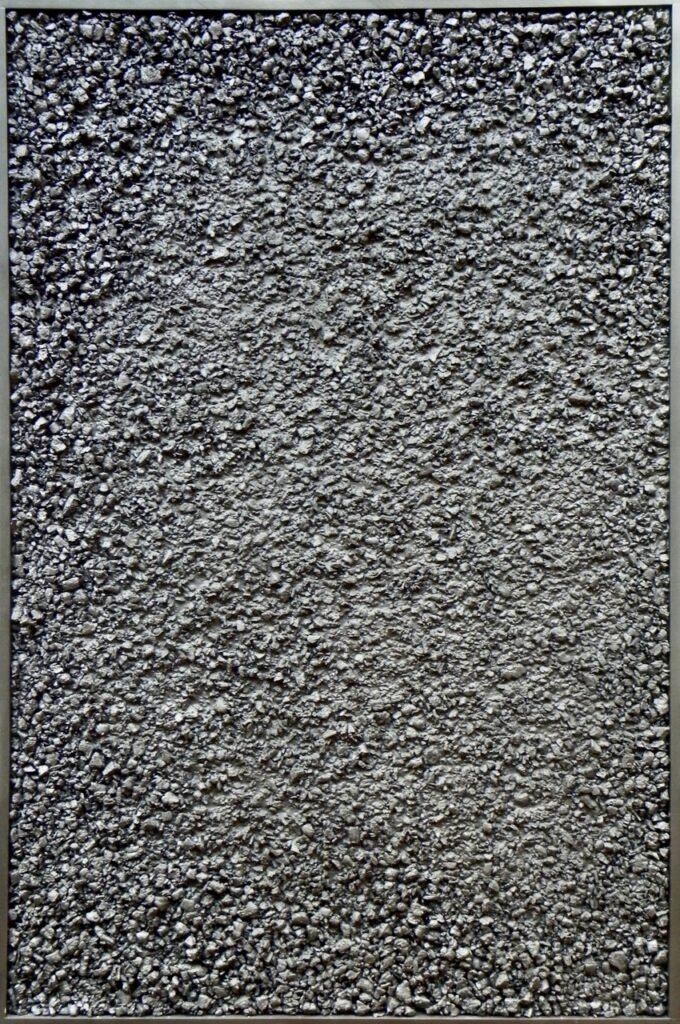
COVID Ashes was made between 2019 and July 2023. It hung finished and covered for a least a year before I photographed it and called it finished.
Thumbnail 1
Charcoal and ashes from years of fires were collected (about 3 x 5 gallon buckets in total).
Thumbnail 1
The charcoal chunks were sorted and dried in an oven with the ashes.
Thumbnail 1
The prepared charcoal and ashes were mixed with epoxy and laid in the frame to set. Then the frame was masked off and the charcoal/ashes spray-painted with ultra-black paint.
Thumbnail 1
The final piece.
Hand-blown Glass
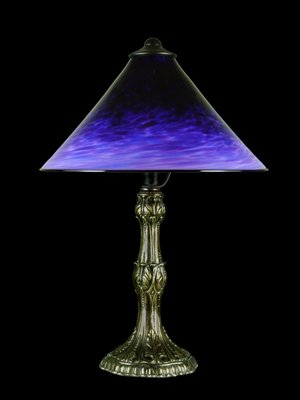
This hand-blown glass table lamp is an example of glasswork made between 2004 and 2007. During this time I learnt glass blowing, and then ran a small business focused on making lighting. Glass blowing was one of the most rewarding and enjoyable crafts I’ve experienced and frequently think about it many years later.
Thumbnail 1
First a piece of solid white glass bar is prepared. This will form the white inside of the shade. It is pre-heated to 900 deg F in an oven and then progressively heated until almost molten.
Thumbnail 1
When the white bar is almost ready, a clear bubble is prepared onto which the molten white will be overlaid.
Thumbnail 1
The white overlay is then carefully applied. Carefully it is worked to form a layer covering the bubble through successive reheats in the glory hole and marvering.
Thumbnail 1
A gather of glass is taken from the furnace. The molten glass is about 2000 deg F. This gather will be the receptor for the subsequent color layers & provide material for the required lamp size.
Thumbnail 1
The color receptor layer needs to be thin for this particular lamp so some hot glass is stripped.
Thumbnail 1
The first of numerous careful color applications is made. Different techniques are used for different effects and styles. Here we see the first coat of 4 application steps being applied.
Thumbnail 1
The color layers are carefully heated in the glory hole and melted into the clear receptor coat. Eventually these color layers will be sandwiched between two clear layers.
Thumbnail 1
After the color layers are completed & the mass shaped with a block, more molten glass is gathered. This will form the outside layer of the lamp & provide material for the shade of this size.
Thumbnail 1
The blowpipe is cooled occasionally to avoid burnt hands. Gloves are not generally worn.
Thumbnail 1
The hot mass is shaped using a cherry-wood block which is soaked in water before each use.
Thumbnail 1
The shape is carefully heated & stretched while the assistant blows. The correct amount and location of heat in & over the mass is critical at all steps throughout the entire process.
Thumbnail 1
More careful shaping and inflation is required. This time a wet newspaper is employed.
Thumbnail 1
A neck is established using the jacks (a large tweezer-looking tool). This forms the top of the shade.
Thumbnail 1
Further shaping and cooling is done while the assistant (Andrew Sherman here) provides air.
Thumbnail 1
Between steps, the work is reheated in the glory hole (2000 F). Heat is applied carefully & the marver, jacks, paper, air & wood provide for cooling in different ways.
Thumbnail 1
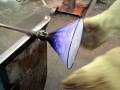
An opening is formed in the end of the piece. This move is colloquially known as a jack-and-crack. A knob shape is formed and tapped off. Timing and correct heat is critical.
Thumbnail 1
The opening is prepared and a lip wrap of black glass is applied.
Thumbnail 1
The conic form opening begins using the jacks while the assistant carefully paddles the lip to ensure flatness. During the entire process from bubble to annealer, the piece is continually being rotated - equally clockwise and anti-clockwise directions.
Thumbnail 1
The form finally takes shape as it is opened up further. The paddle acts as a flattening surface and a heat shield.
Thumbnail 1
The form opening is completed while the wooden paddle is used as a heat shield to protect the gaffer's arm from burning.
Thumbnail 1
Finally the shade is carefully removed into gloves to be placed in the annealer where it will be slowly cooled overnight. The piece is quality controlled and if satisfactory then cold-worked and fixtures added.